Happy Tuesday Beauties and welcome to another post. I have to say I’m equal parts excited and nervous about this post. Excited because it’s my first post reviewing a product I’ve been sent specifically to blog about and nervous because, well, it’s the first post reviewing a product I’ve been sent to specifically blog about.
I was contacted by the company Go Explore Makeup a couple of weeks ago asking if I’d be interested in reviewing their subscription service. I’ll admit, I was sceptical. I have a very very small following so I didn’t understand how I would be a suitable candidate for this specific post. I messaged back and forth with Gemma from Go Explore Makeup and felt pretty comfortable with the situation so I decided to go ahead with it.
My most important question to her was “Am I able to be 100% honest about the products?” You see, I was receiving this month’s subscription box for free in exchange for writing a blog post, I didn’t want to be restricted in what I could or couldn’t say regarding anything about it. I like to think that, while I don’t bash brands, I do explain what I don’t like about a product or why it doesn’t work for me. I wanted to continue being able to do that, even if I was receiving a product in exchange for a blog post. I was given the go ahead and here we are. So already, huge props to this company for being confident enough in their product and service that I could be honest!
About The Company and Service
Go Explore Makeup is an Australian based company. They’re located on the Gold Coast and currently only ship to Australia. Each month a box of 3-4 full sized items, made by more underground/indie brands, is sent right to your door with an average value of $48AUD. There are 3 different options to choose from;
- a trial box (one month only) for $34.94AUD + $5AUD postage
- a monthly box for $29.94AUD + $5AUD postage per month
- a 6 month service for a once off fee of $179.94AUD with postage being free.
The subscription is not a contract and can be cancelled at any time, however they do not accept returns on products.
This Month’s Box
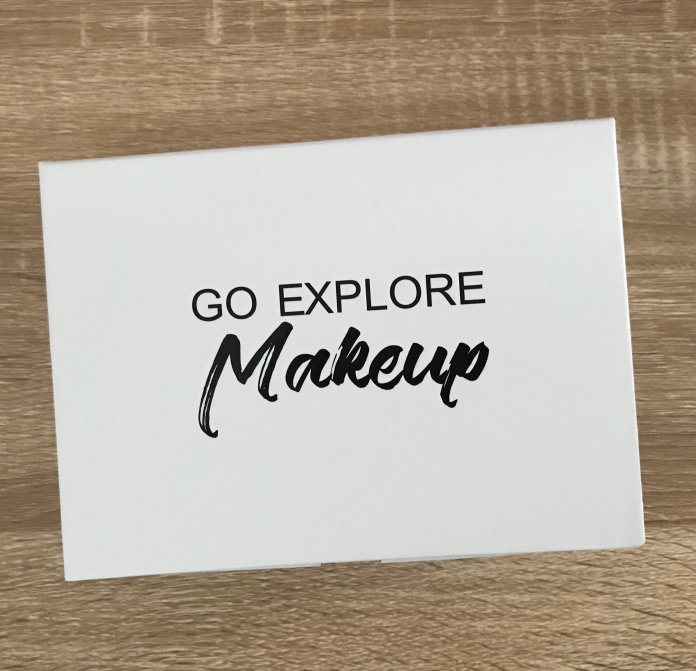
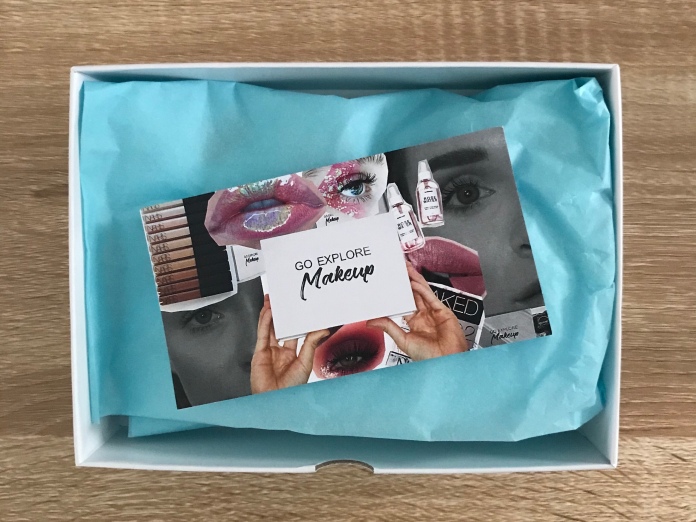
The box I received was presented really well. The actual packaging is all recyclable so isn’t going to impact the environment if that concerns you. I messaged Gemma when I received it to comment on how great I thought the presentation was. Inside was 4 x Stilazzi branded products. I received a
- Gel Eyeliner in Tiger’s Eye
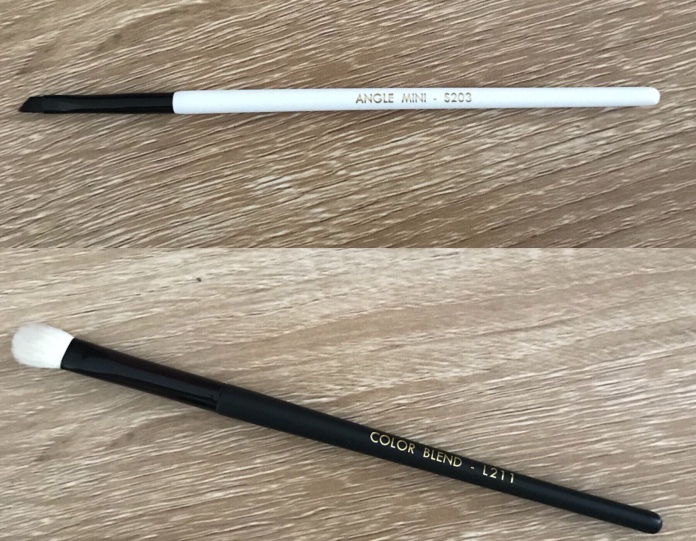
- 2 x brushes; the Angle Mini S203 and the Color Blend L211
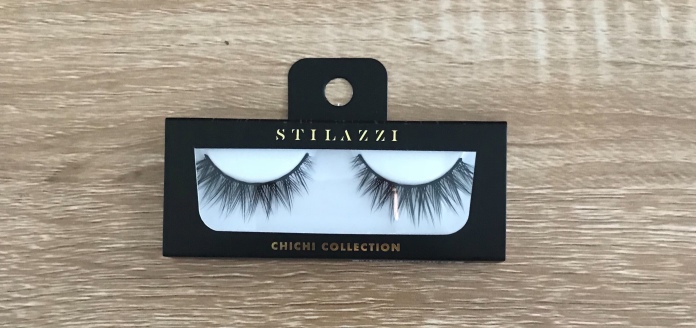
- One set of ChiChi Collection lashes in the style Strip Show

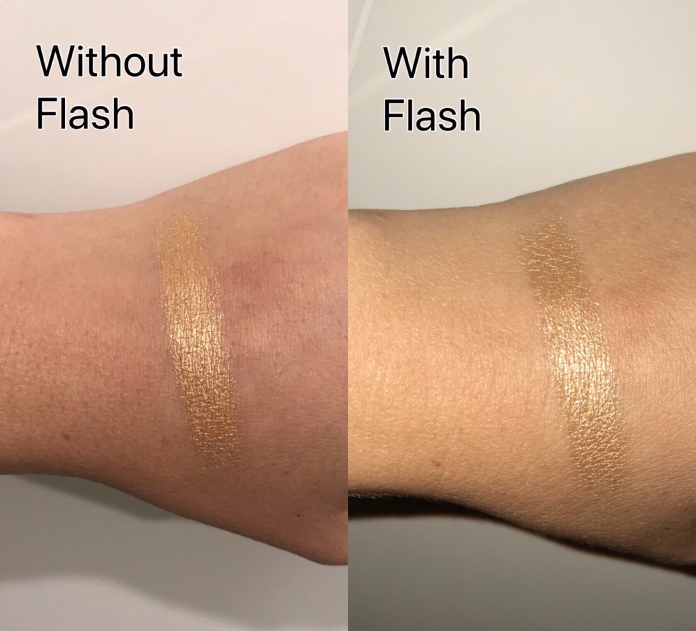
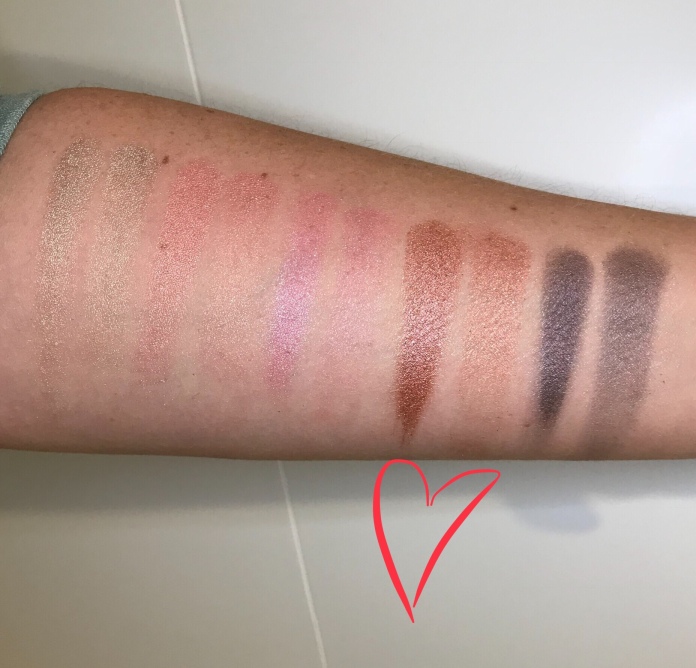
I was a little hesitant when I opened the box. I don’t usually use a lot of liner or wear lashes but I was determined to give it a go. I did a lot of research on the brand Stilazzi and discovered that their liners could be used as shadows or shadow bases as well. They have 6 different colours available. The Gel Eyeliner I received is in the shade Tiger’s Eye and described as a Copper Brown Pearl. It contains 5g of product and retails for $11USD. It’s a really gorgeous colour, subtle enough that while I’m still learning to do a wing it isn’t as obvious if I make a mistake but still strong enough to give a wing effect and I’m excited to try it out as a shadow itself.

Here’s a look at the eyeliner in the pot with a small swatch;

The brushes are super soft and easy to use. The Angle Mini is a synthetic brush and retails for $5USD. It was great for attempting a sharp line without being too stiff. The Color Blend brush is a natural brush (using Goat Hair) and retails for $11USD. It blended everything well and I was really impressed with it. For those of you that prefer to use synthetic brushes there are a multitude available, not just the liner brush.
The ChiChi Collection lashes are really nice. They retail for $10USD and are made of synthetic hair. They’re described as an extreme lash but I didn’t find them to be over the top and they looked great, in my opinion. I got a lot of compliments on my eye makeup the day that I wore them. They didn’t feel heavy at the end of the day and were easy to clean after I took them off. My only criticism was the lash band itself is black and a little bit more thick than the few styles I’ve worn in the past. As I wasn’t wearing a black liner that day, it made it a little more obvious. However that doesn’t mean they looked bad or wouldn’t look fantastic with a black liner. You’re also supposed to get 10-15 wears out of them but I think if you treated and cleaned them with care you could probably stretch that out.
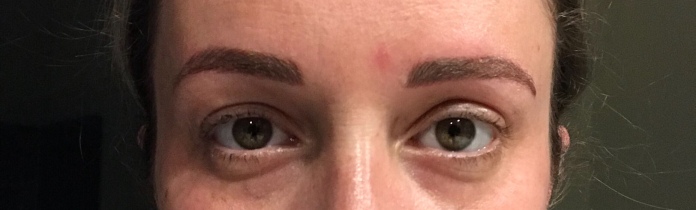
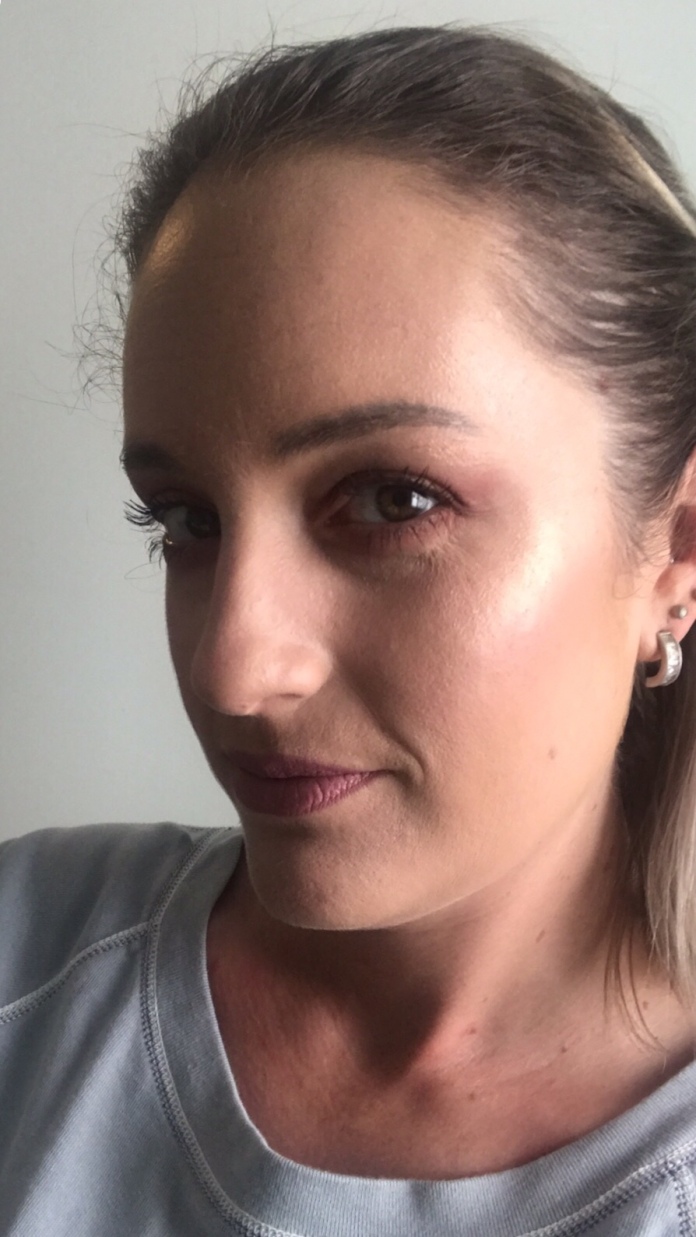
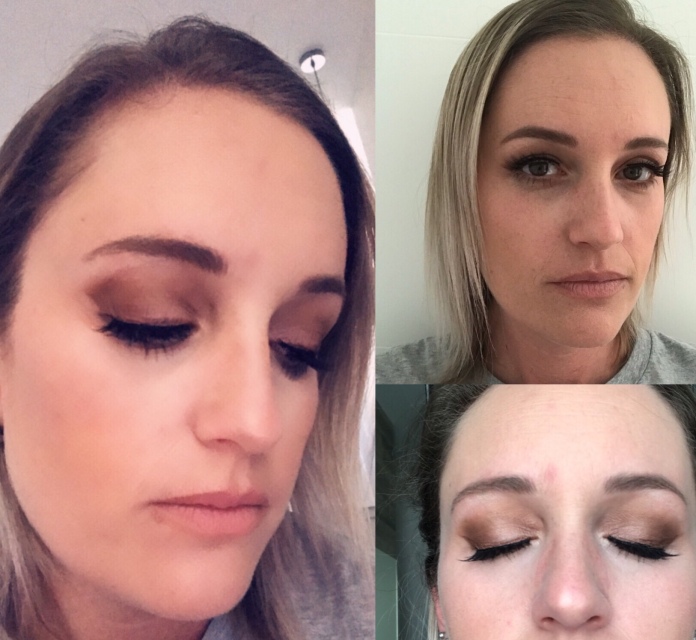
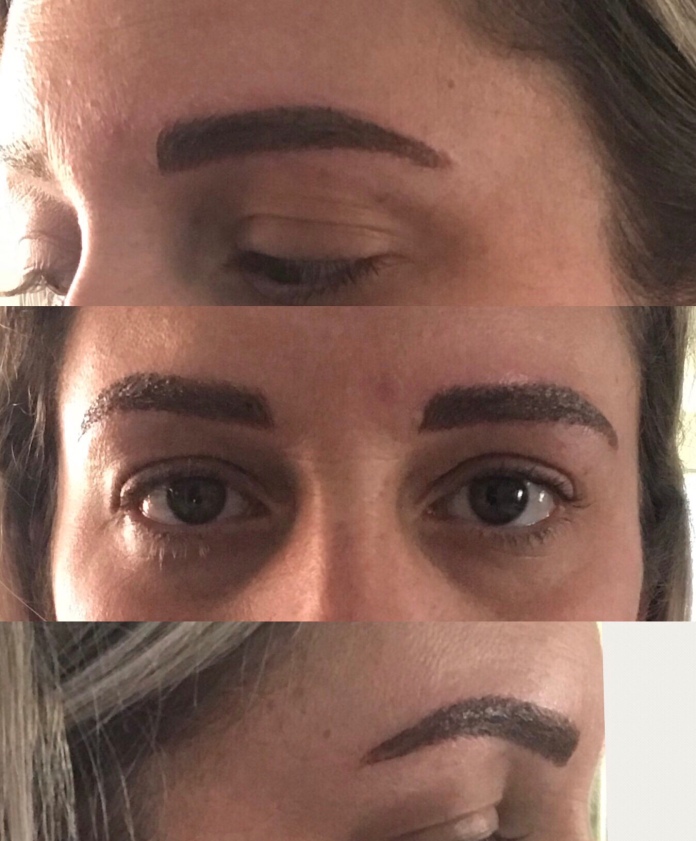
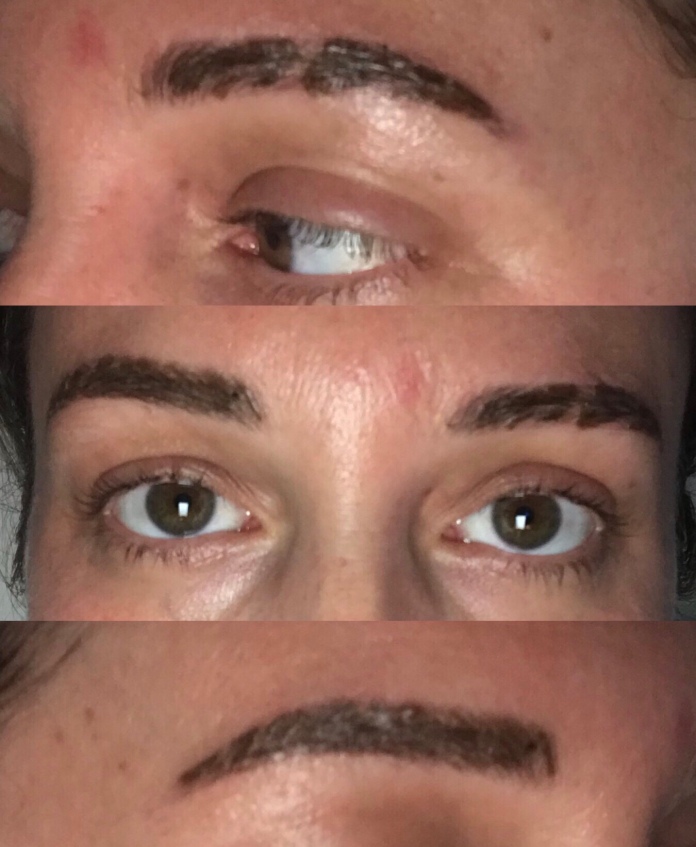
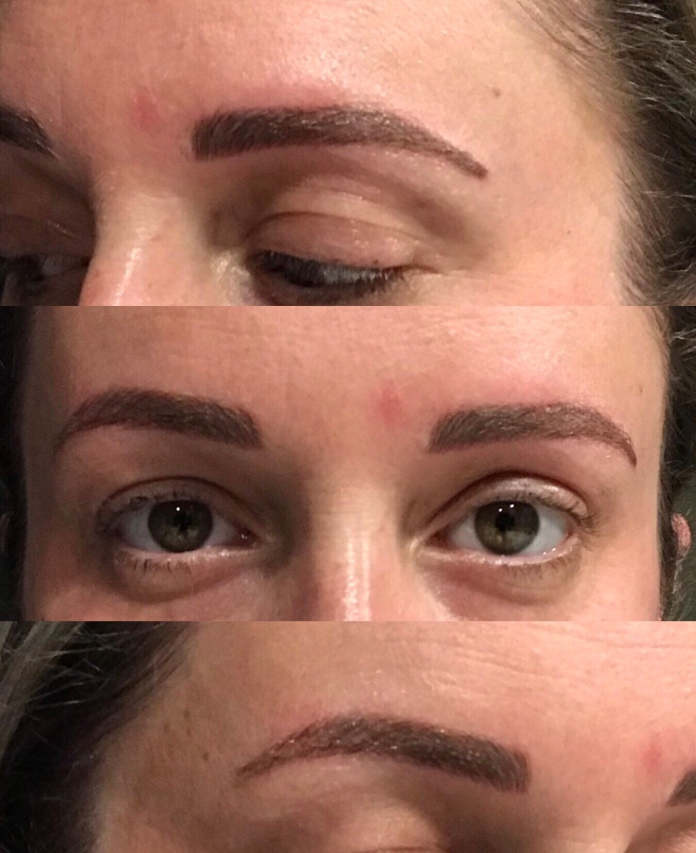
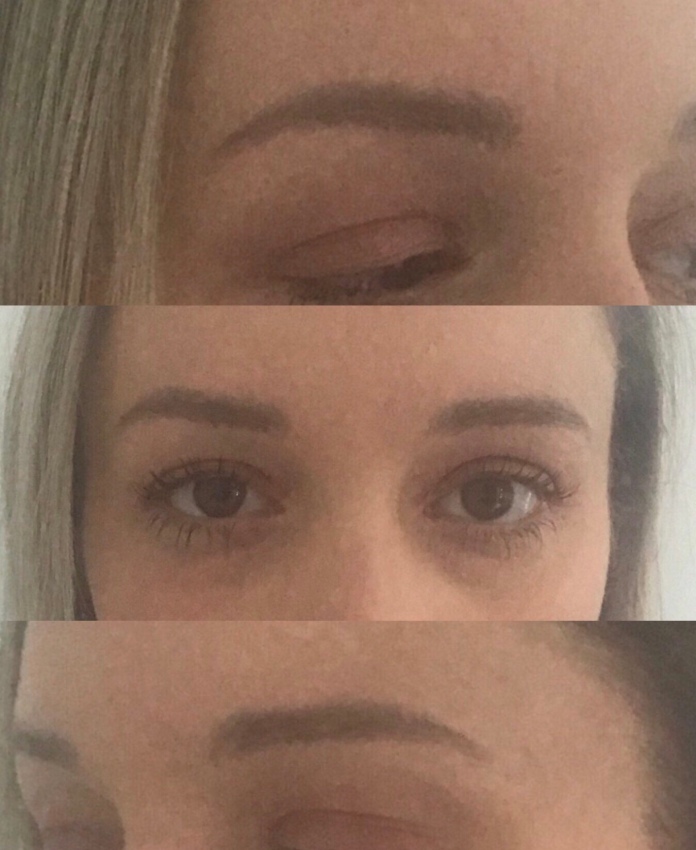
Below is a few different angles, with different lighting, of the look I created (with the help of a friend since I’m still learning wings and lashes) using all the products. I’m really impressed with each product and was pleasantly surprised.
Overall, I’m really impressed with this service. It’s hard to find subscription services that either ship to Australia or don’t require a small loan to afford each month. Using the current exchange rate, this month’s box value is $49.95AUD. I think for the products I received and the price of the box, it’s a great deal. Especially because everything worked! I’m definitely considering signing up for it and seeing what other products and brands I discover. My overall experience so far has been fantastic, from the customer service to the products themselves.
Have any of you tried a subscription service? What were your experiences? Let me know in the comments below.
Until next time, Beauties xx
*Prices and conversion rates are correct at time of publishing and may have changed*
**As I received free product, this post is considered sponsored, however all opinions are my own**

 (Natural Lighting)
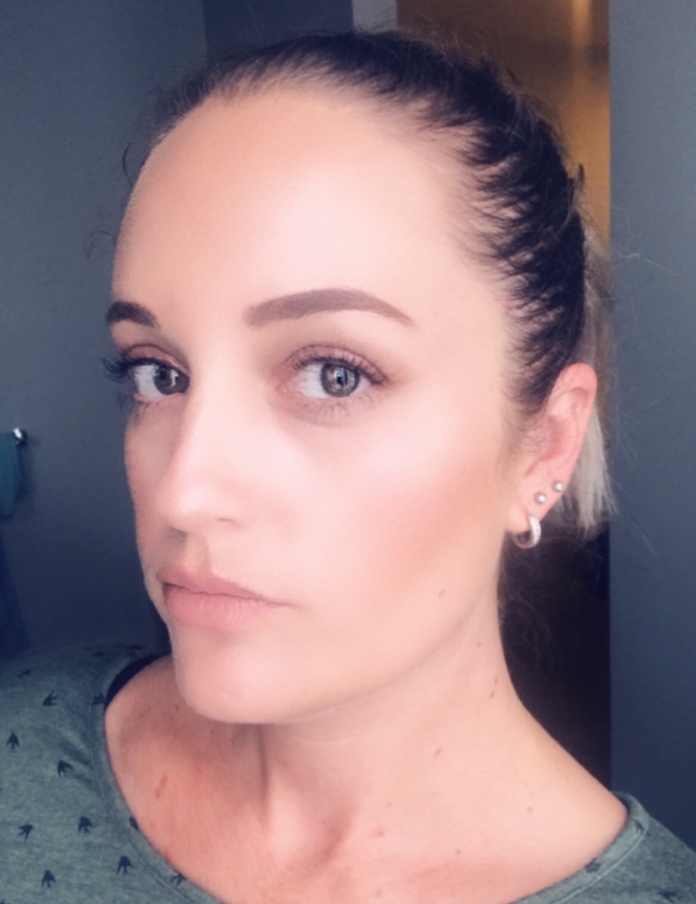 (With a ring light)
 (Image Source:
  (Image Source:


 (Image Source:
 (Image Source:
  (Image Source:
 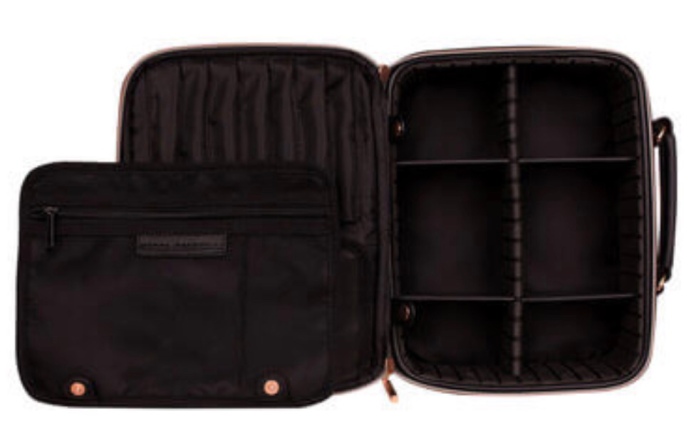 (Image Source:


 (Image Source: